Installing Headless Debian

I LOVE DEBIAN!

Debian is a stable linux distribution, and is used as a foundation for most of the biggest linux distributions on the planet (including Ubuntu, Proxmox and TrueNAS). Just about every linux application ever made comes in .deb format and works with Debian, and for the few things that don't there are usually FlatPaks, AppImages or SNAPs (but those are really a last resort. Ultimately Debian is just really unlikely to break, and all the software just works on it. Using Debian as a base for your servers is almost always the right move.
This guide is a real simple runthrough of the basic Debian installer, for those who are new to Debian or just need a bit of clarification.
I create a TON of Debian VMs, for testing and production, and they all get largely the same treatment before I send them on their merry way. If you are creating a VM (and you probably are) and that VM will be running on Proxmox (and it hopefully will) please check out my guide to the optimum settings in Proxmox for a Linux VM:

If you don't already have it, grab the Debian ISO below, and burn it to disk or add it to your VM. I recommend the 64-bit PC DVD-1 iso installer (middle left of the page) as it has a lot more packages for firmware, and generally makes things easier, especially when you have no network or a poor connection during install.
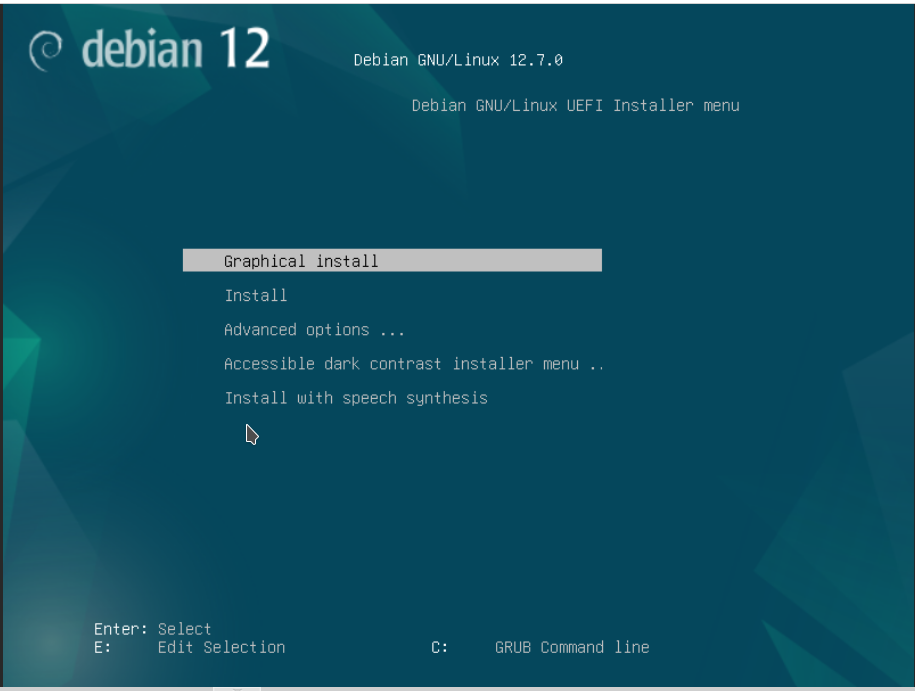
Having booted up your machine into the Debian installer, this is what you'll see. Not many surprises here. Let's run through it real quick.
If you have a mouse, choose Graphical install. Otherwise, choose Install.
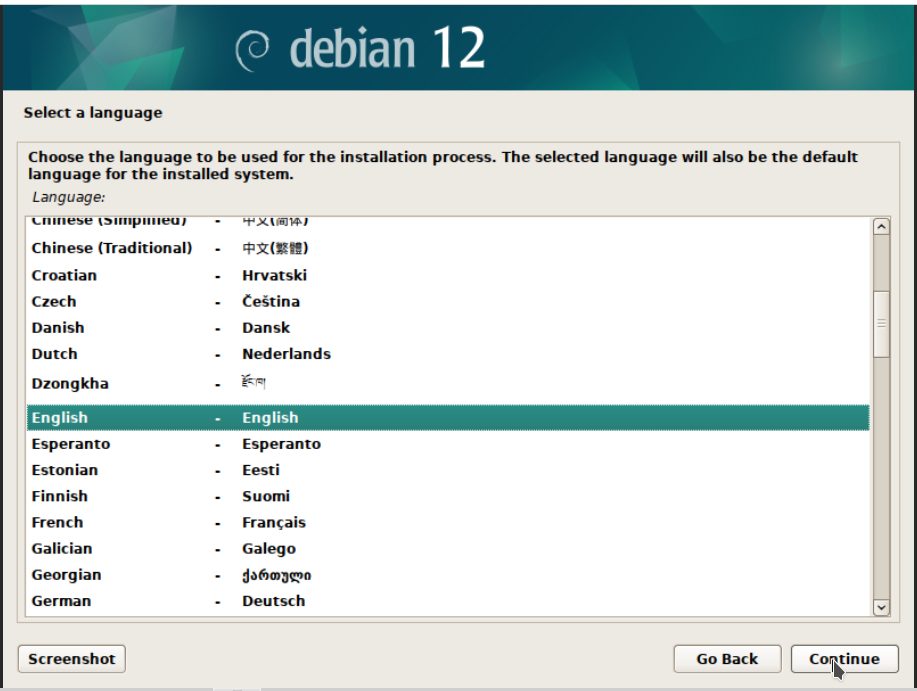
Choose your language. I would suggest a language you understand.
Select your location.

Choose a keymap. For most English-Speaking Americans, the default is correct.

Now the installer will load packages and attempt to get an IP via DHCP. If it cannot, it will ask you to configure IP settings manually. If it succeeds, you'll see this screen, asking for a hostname. I like to keep mine directly relevant, and append a number if there is more than one doing the same job (e.g. DC01, DC02, FOG, etc.)

If you have a domain, enter it here. If not, you can either leave it blank or use something like home.arpa

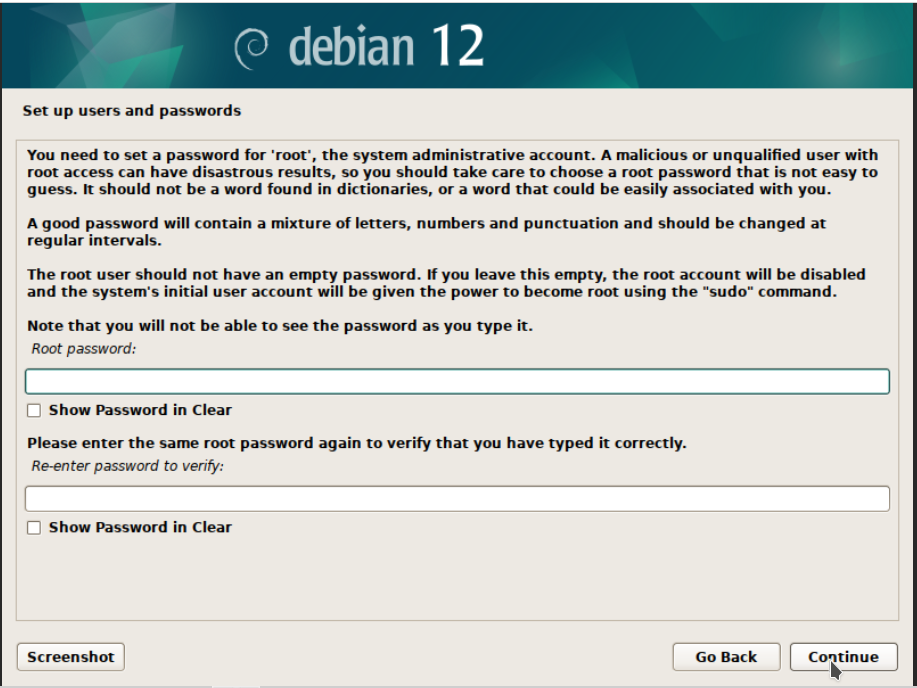
Don't enter a root password, just hit continue. The next prompt is to create a regular user; If you don't set any root password, the installer will grant sudo privilege to the regular user. Saves us the hassle.

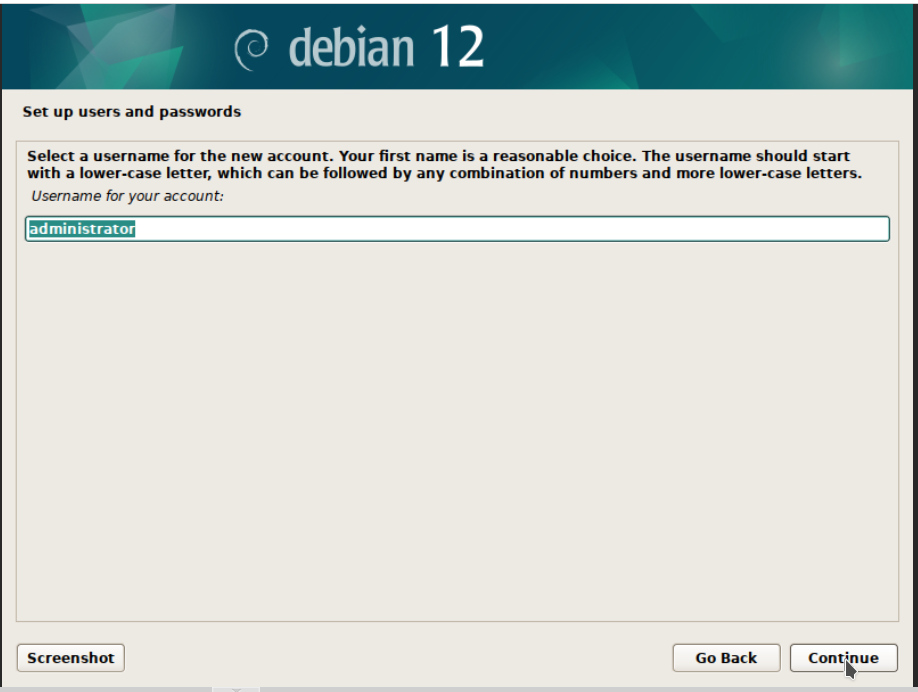
Now name your normal user. I like administrator for consistency's sake. Plus that's kind of what the account is.
username is the same, just click continue.
Generate a nice strong passphrase and enter it twice.

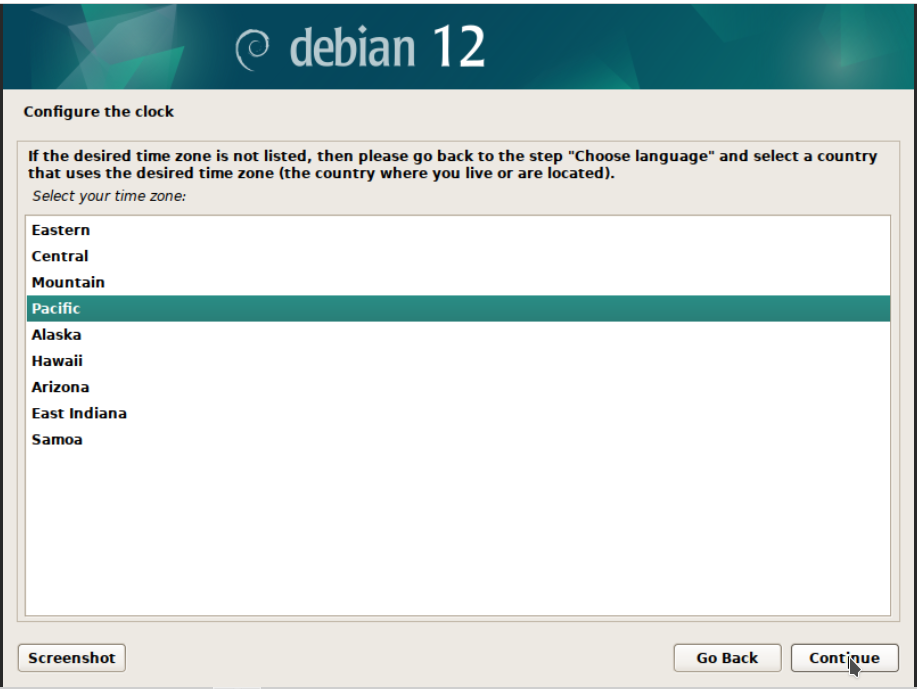
Select your timezone
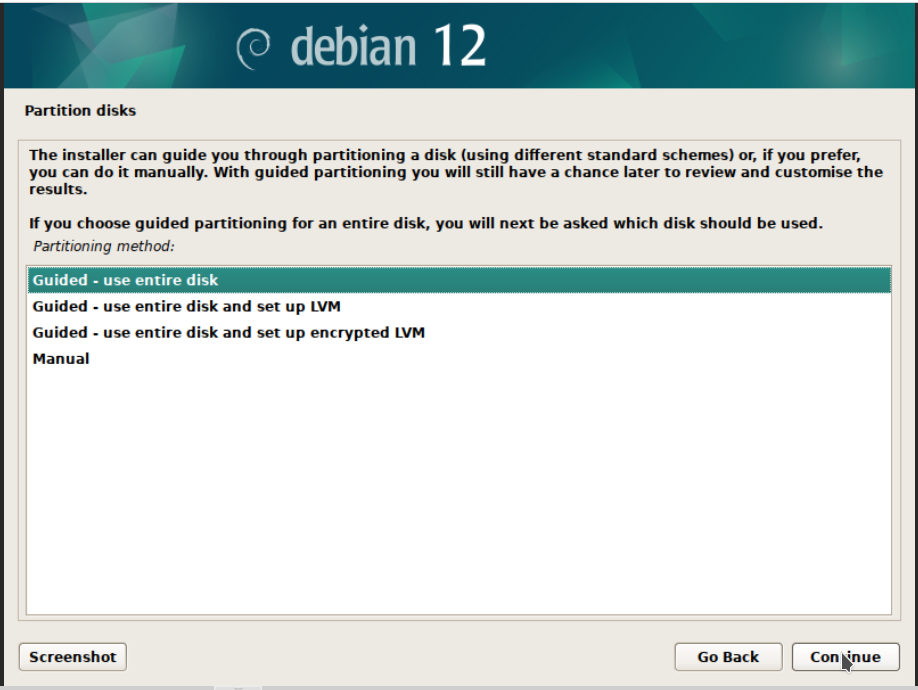
Now the installer will scan for local disks and prompt you as to how to proceed.
If you'd like to enter a password on boot to decrypt the disk, choose Guided - use entire disk and set up encrypted LVM
Otherwise, choose Guided - use entire disk
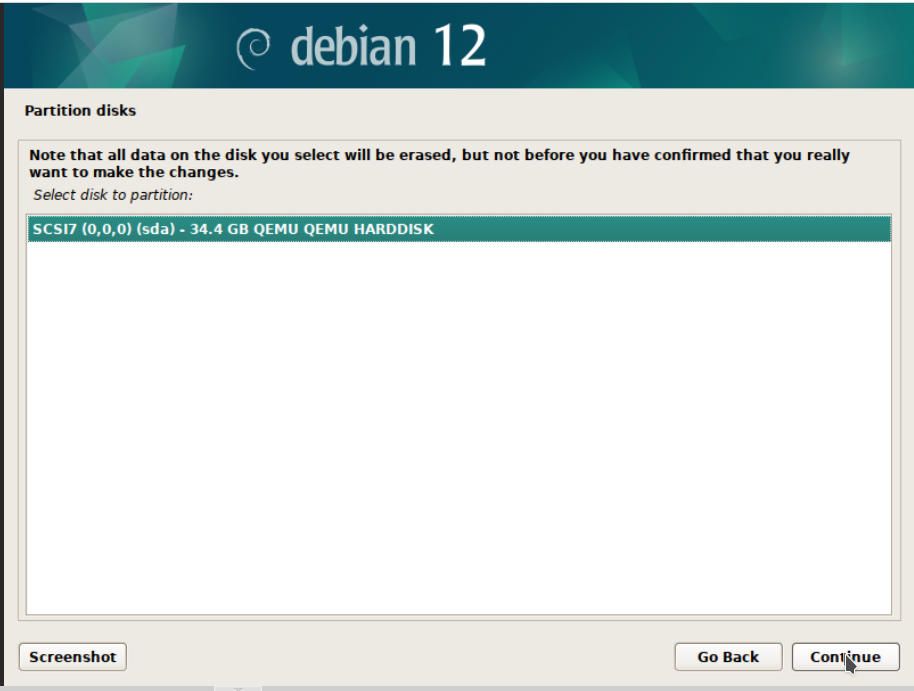
Hopefully you don't have a ton of disks attached. Choose the one for install, click continue.
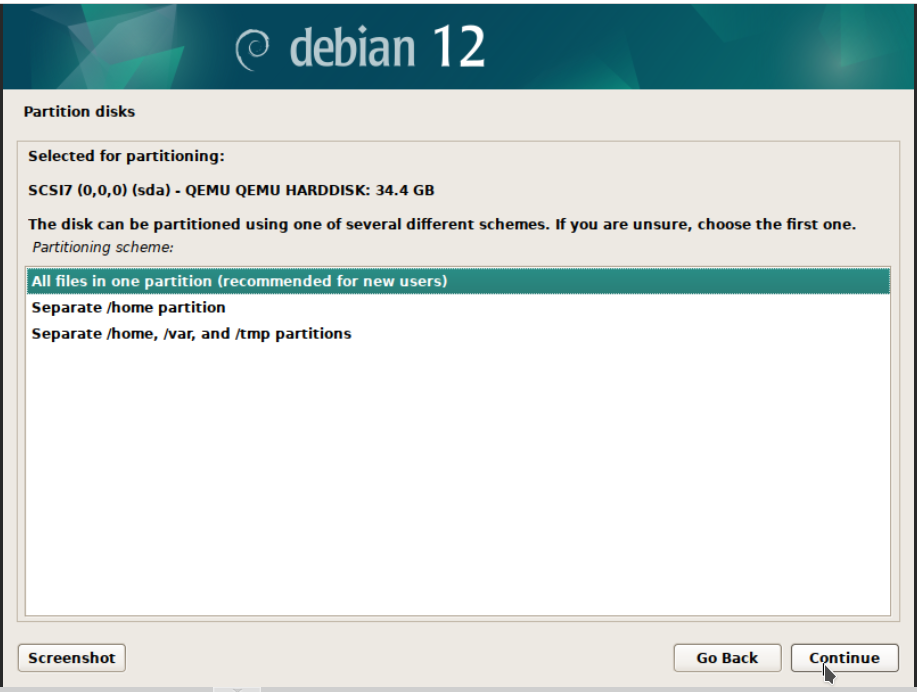
I really recommend the All files in one partition option. It can really simplify things later on. It's not that difficult to add partitions and mountpoints later, but removing/merging is not fun.
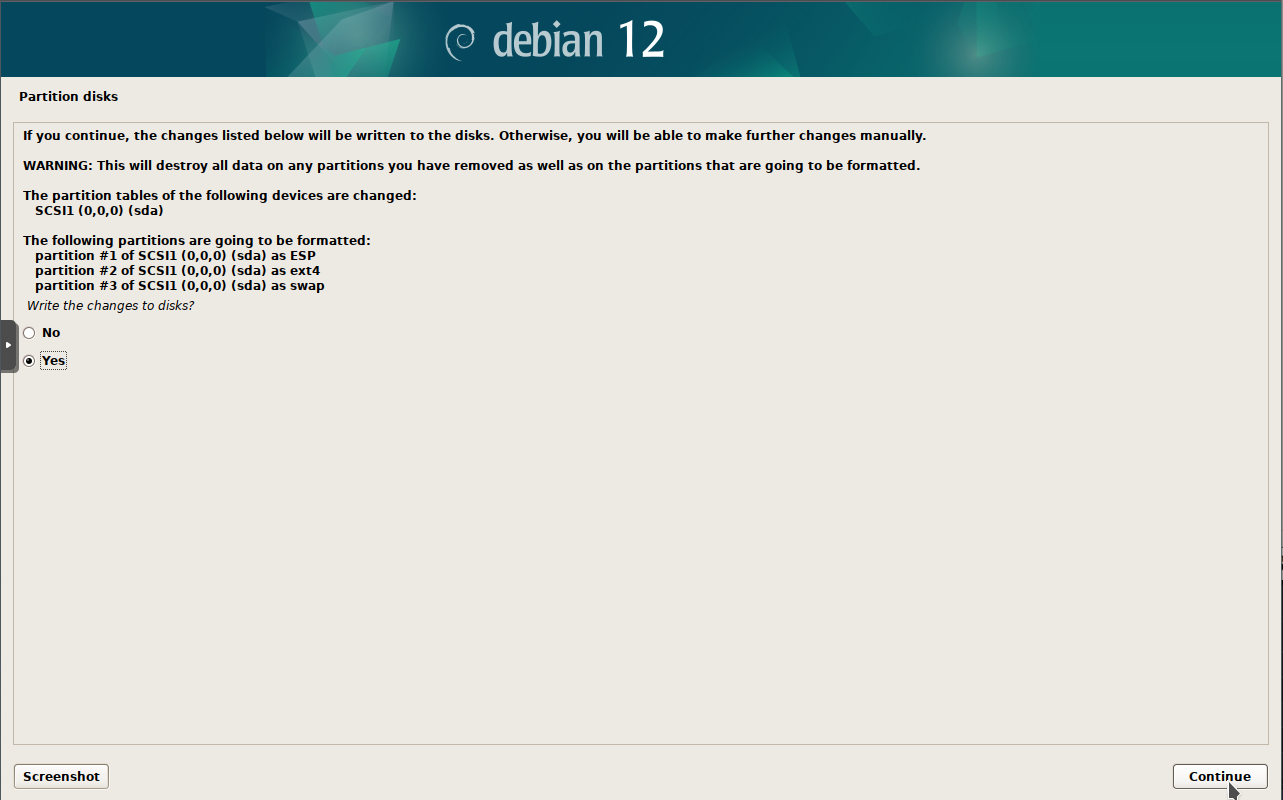
And the final Write all this junk to disk confirmation:

Just kidding, there's another one. Check the Yes radio button and click Continue
Now the installer will copy all the install files from the ISO/DVD onto the boot drive.
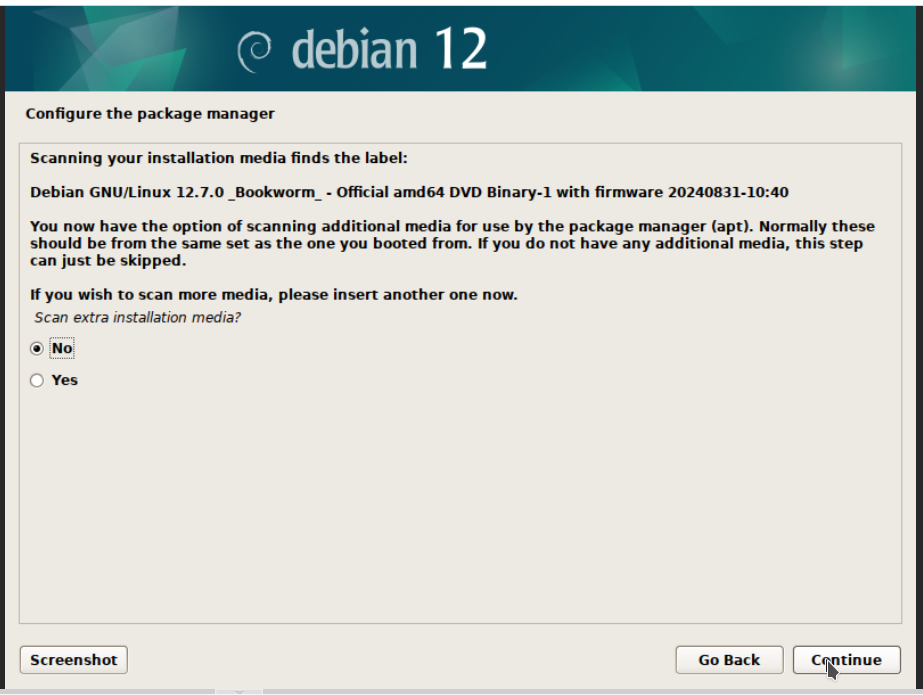
Unless you have another physical disk with files or drivers on it (which is uh... unlikely) this is going to be a No. Click Continue.
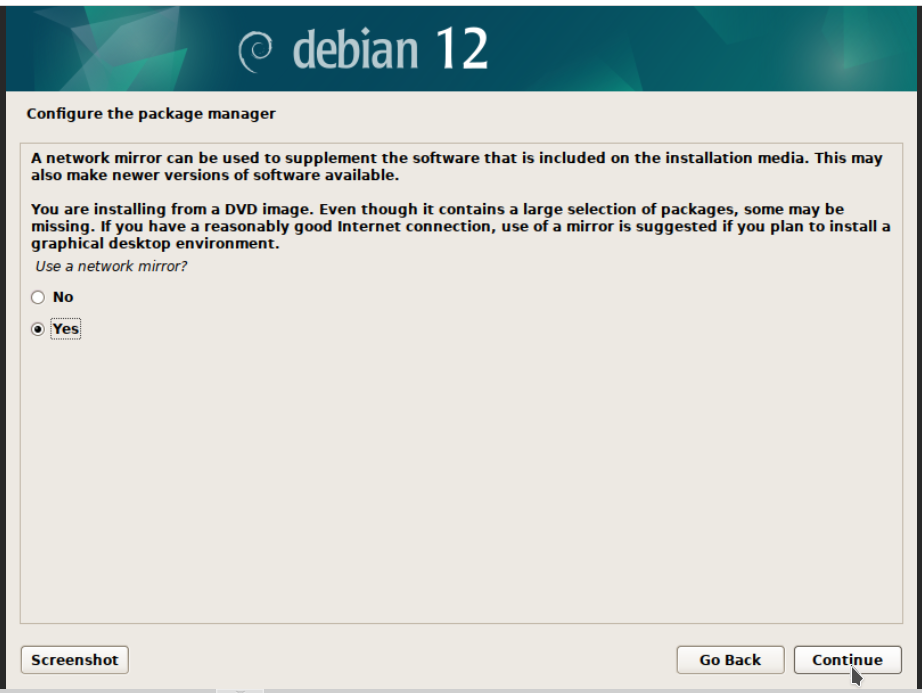
We DO want to pull updated packages from the net though. Check Yes, hit continue.
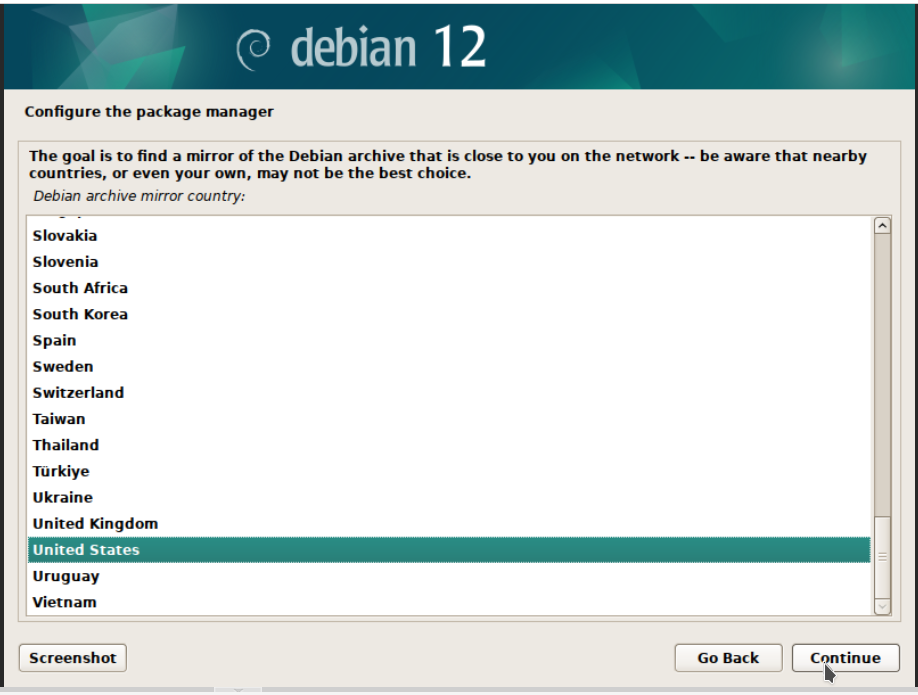
Choose your location:
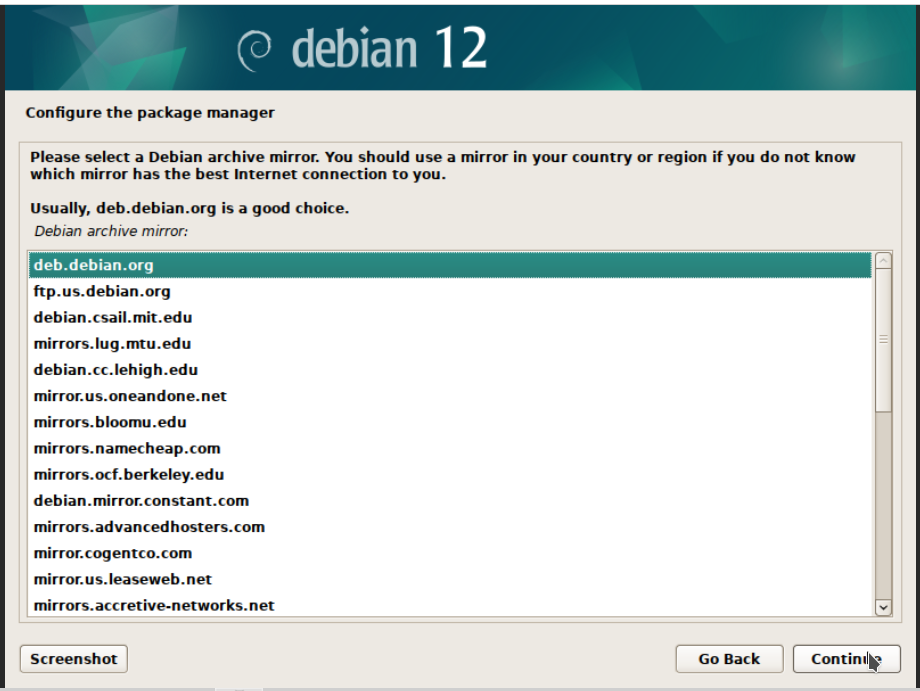
Choose a server or mirror if you so wish. Default is fine. Click Continue.
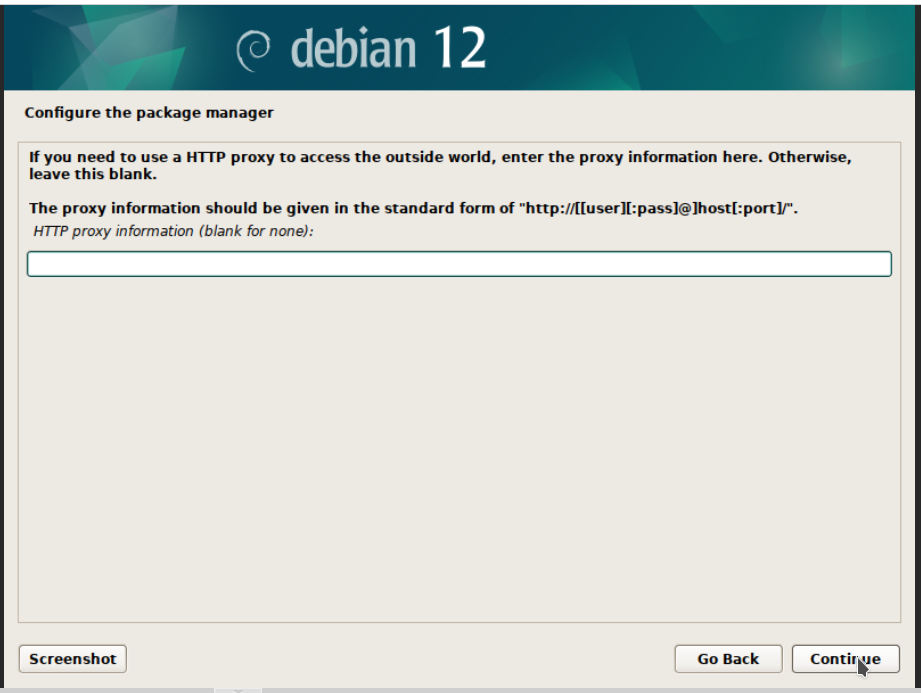
Are you using an HTTP Proxy? No? Click Continue.
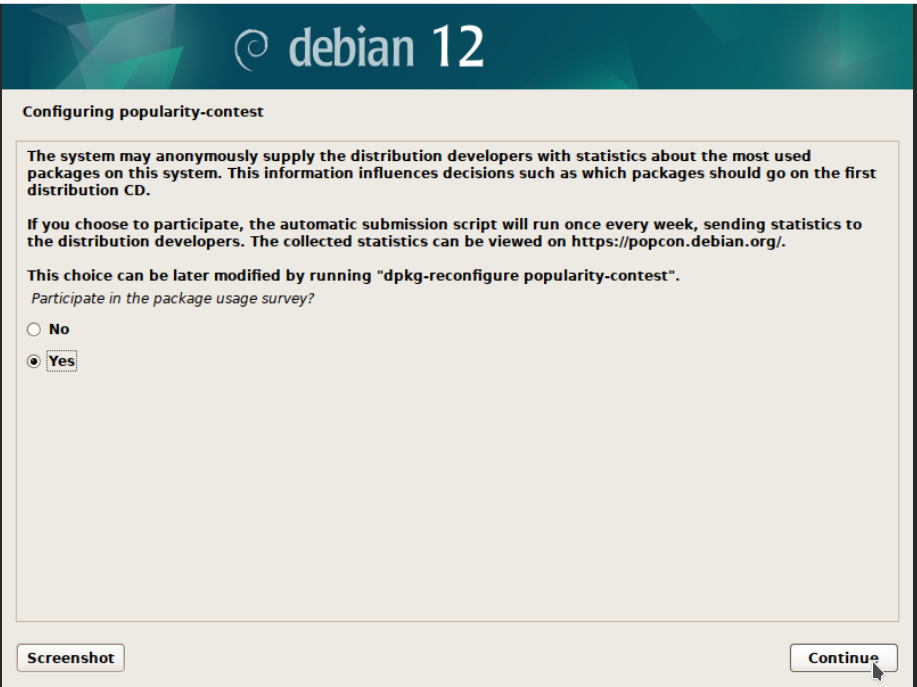
Now the installer will do some scanning and updating. When it's done it will ask you to consent to some very basic telemetry (literally just what packages are installed). It's anonymous and it's a good way to give back a little for an awesome free product, so I recommend you check Yes and click Continue.
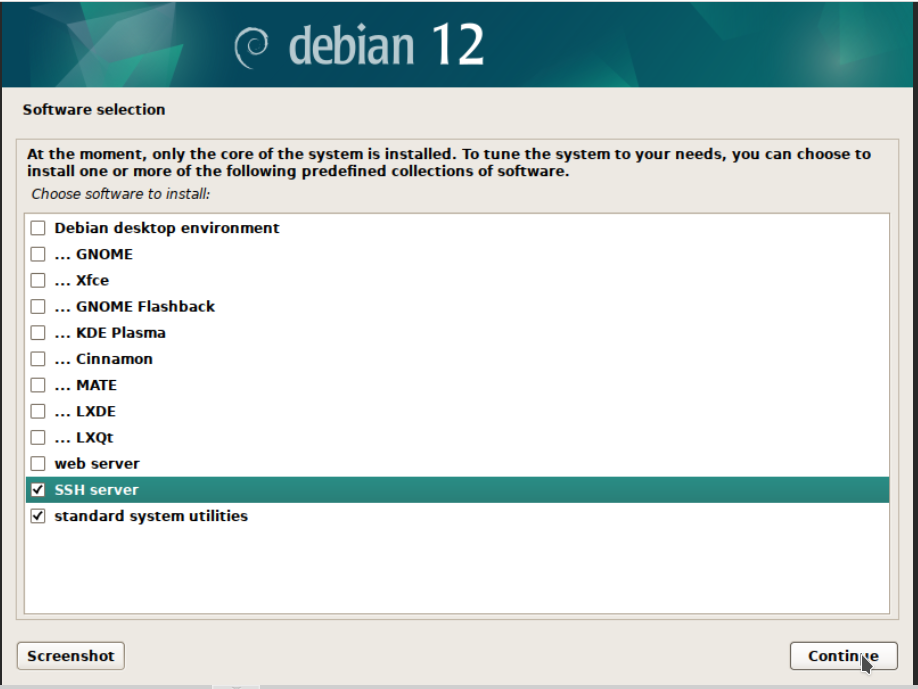
This server will of course be headless (No UI, only command-line) so we will uncheck everything except SSH server and standard system utilities.
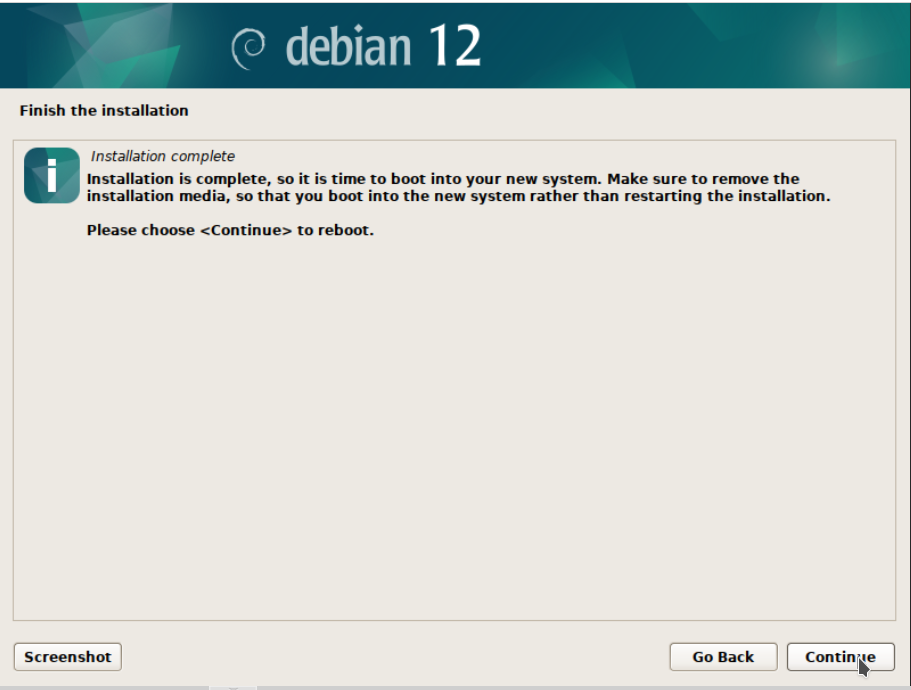
Now it will do some more installing, and when it's done it will prompt you to reboot.